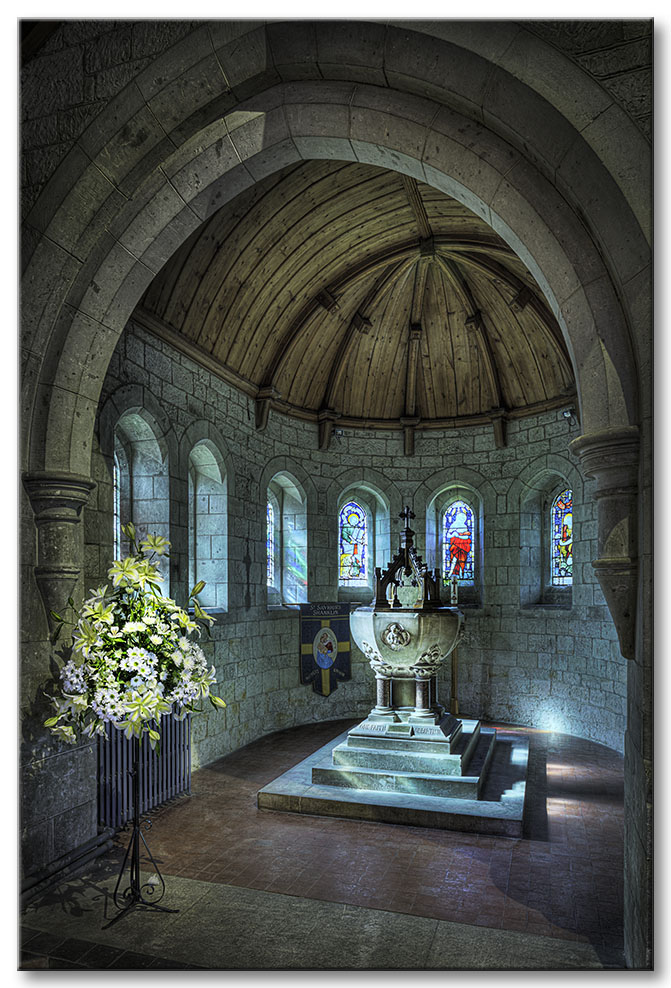
Location : The parish church of St Saviour on-the-Cliff, located in Shanklin, Isle of Wight.
St Saviour's, whose cornerstone was laid in 1867, is the work of the 19th century English architect Thomas Hellyer, responsible for the design of many churches, schools and hospitals on the Isle of Wight. Although consecrated in 1869, it was not completely finished until 1905. The church survived World War II with only slight damage. There is an interesting paragraph to read on the tower and bells in the link to Wikipedia above.
I do like the painterly look you get from the HDR process, a technique I find especially useful when photographing church interiors.
This image was photographed using a tripod-mounted Canon 5DmkIII camera and a Canon TS-E 24mm f/3.5 L II lens. I used Live View focusing at 10x on the kneelers. The camera was set to manual exposure mode, f/11, ISO 100 and daylight white balance. It was a very bright church so I then captured a series of 13 exposures from 30 seconds down to 1/125th of a second in one-stop increments. The RAW processing, creating and saving of this 32-bit HDRI file was all done in Photoshop CC. The HDRI TIFF was then opened and tone mapped in Photomatix Pro 5. All final adjustments were done back in Photoshop CC.
I have been asked many times why I first build the HDR image in Photoshop and then Tone Map it in Photomatix Pro, since it seems the logical thing is to do it all in one program. I appreciate the image quality you can get from the full control of Adobe Camera Raw. You should always take a lot of care to set the white balance controls, the lens correction and the noise reduction to the optimum for the HDR image set. You can then simply save all the images as TIFF files for processing in Photomatix Pro, but since the Remove Ghosts option in Photoshop is so good I find it better to build the HDRI directly in Photoshop CC. Turning off Align Images when building the HDR image in Photoshop is the best bet. It doesnt appear quite pixel-accurate, because it will slightly blur my tripod shot images. You can now save the HDRI as a 32 bit TIFF file in Photoshop CC for export to Photomatix Pro 5. I personally love the look you can get with Photomatixs Tone Mapping. There are lots of adjustments to play with, allowing you to get just the look required for the subject. The Bottom Line is that Photoshop offers a much better raw converter and its also really great at removing ghosting when required. However Photomatix offers a very specific look with its tone mapping adjustments that I find very attractive. I really do enjoy using the best of both worlds.
Click here to learn something new ... take part in a HDR workshop
- Photography Workshops on the Isle of Wight -
Workshop gift tokens are available for the special photographer in your life. Please enquire. |